Timber Desk Plans
Desk Construction Schematics - How to Select the Right Template Building Drafts For Your Long-Lasting Layout

For interior use, any good-quality varnish will work. Rub the swab on skin to loosen the bond of glue. If you'll be leaving your bench outdoors, use stainless steel screws or corrosion-resistant deck screws. Use a framing square to ensure the partitions are perpendicular to the back wall. Transfer these measurements to outside corner trim and door and window trim. Cut stock diagonally with a band saw into eight pieces, (https://woodcraftdiagrams.com/diy-executive-desk-plans-blueprints) put them through the jointer and then lay them out again in rough shape of the template. Don't worry about trying to saturate the mix. When the wall is plumb, fasten temporary bracing between the wall and the floor.
Set the door frame into place with bottom of it resting on bottom frame of table. To make this magic, push an army of pushpins into a piece of thin cardboard, then set your project on the pins and spray on finish. We applied the stain with a mini roller to speed up the process. To avoid tedious work later, sand all molding before you start cutting it. They must be equal to have a square perimeter. Use carpenter's glue and clamps to assemble legs. When plants are watered from below, the roots stay consistently moist, there's less evaporation and you don't need to water as much.
Make a compass from a scrap of timber by drilling a hole near each end. You'll need a table saw and a miter saw to make the precise cuts required. Fold the assembly up and secure it with a few final pieces of tape. Route the outer (see this here) edge of each oval blank. Whether you're staking out a curbside spot for watching a parade, heading to woods for a weekend or simply trying to catch a few rays, you'll love portability and comfort of this chair. Hammer the pipe into ground, then slide house on the pipe, tighten pipe strap, and watch for your first fluttering houseguests.
Finishes that leave a film provide the best protection. There shouldn't be any kinds of gaps between slats, so make sure you align them properly, before securing them into place. Stand up the arbor exactly where you want it and mark the locations of postholes. Then bore the clearance and pilot hole in one step by pushing bit into workpiece until the stop collar contacts metal sleeve. Next, cut and install cove molding against the build-up strips. Then measure distance from the last board to outside edge of back leg and cut and notch end pieces to fit. Then screw temporary X-braces to the posts.
You can rip boards with a circular saw, but a table saw will give you better results. As tongue-and-groove boards expand and contract, spaces between them change a little. The slats not only form the floor of box but also hold it square. Smooth the curves by sanding or by running a pattern router bit along the template. It's faster and there's no blade deflection to deal with. Cut the stock diagonally to create two mismatched wedges, then glue them side by side. Measure diagonally from each corner to ensure that it is square. Use your circular saw and the same cutting guide you used to cut plywood pieces to width.
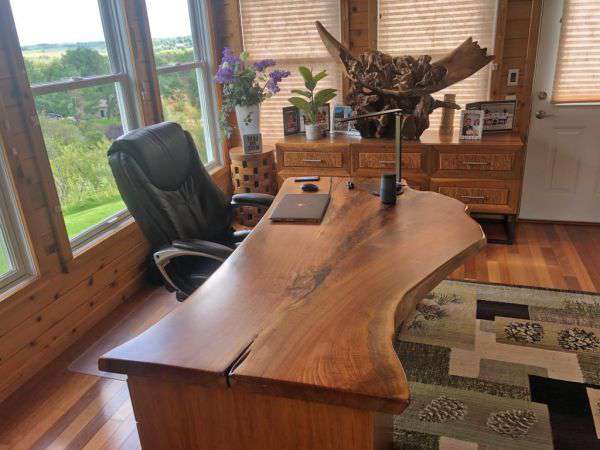
Assemble this wall in place, making sure to plumb up from bottom plate. Before you could rip grooves, you need to choose the panel materials so you can get width of the grooves just right. Place a second board-marked side up-over your glued board and align edges. Use a stop block to rip all the pieces quickly and accurately. Focus a bright beam of light on your layout lines when you're doing fine work on a band saw or scroll saw. If a simple writing desk would do, this table shown could be assembled by any beginner in just an afternoon.
You clamp tail board into the template and then use a dovetail router bit to craft the tails. Cling wrap could create an airtight seal on paint and finish cans. This tip is for cutting thin sheet metal only, not thicker plate steel. Our build-it-together bookcase was a great success-give it a go with your up-and-coming woodworker. A stationary upper shelf secured to wall steadies bin so it'll spin easily and won't tip over. Use the jigs again to hold parts square. Mark the location of framing and snap chalk lines on the wall. Use a chisel to rip hinge mortises and join both seat halves with hinges.
Once your design is set, figure out how much plywood you'll need. Cut the door blank lengthwise after clamping a straightedge guide to the door. Then just hold the parts together and drive in screws. Cut two legs at a time on a power miter saw. Wipe it along the edge of the container to remove as much finish as you can.