Timber Desk Plans
Argosy Desk Schematics - Truth About Assembling Model

You'll need these to build a pair of jigs that are essential for assembling the boxes. Drill pilot holes through tops of legs for lag screws -two through each L-shape notch and one below each notch's shoulder and drill one hole in center of each ledger. You can save about even more by using standard framing material for the entire structure-a smart move if you intend to paint or stain everything to match the house. Once planted, water often to help plant get established. (https://woodcraftdiagrams.com/roll-top-desk-plans-blueprints) The shims elevate and center the lattice to the frame, making alignment and nailing easier. Rip and crosscut these pieces, then glue and nail them to the case using a pneumatic pin nailer and 23-gauge headless pins.
Align edges with attention and lock everything tightly with screws. To cut opposite front right and rear left legs, feed the open top end of each leg into bit and toward left, lifting legs off bit at groove ends. Set weight on the slats if needed. In bottom horizontal member, the groove runs out both ends. Now clamp the crack closed and let it dry. Finish up by installing cap and cove molding to tops of cabinets. Notch your deck boards to fit around the vertical supports. For safety, position the block so workpiece getting craft loses contact with block before rip begins.
Cut center posts to length, and use a miter saw to cut points on ends. Lay pieces on your workbench, as shown in the photo below. Drill pilot holes through box into wall, remove (have a peek at this site) box and drive the anchors into wall at the marks. Once the glue has dried, weave bungee cord through the holes. There are a few different types of dovetail joints, but most popular is the half-blind dovetail joint and the through dovetail joint. Complete stiles by gluing fillets into the grooves. Mark depth on the drill with a bright-colored erasable marker. It really helps to prefinish all parts before laying out the rails and doing any assembly.
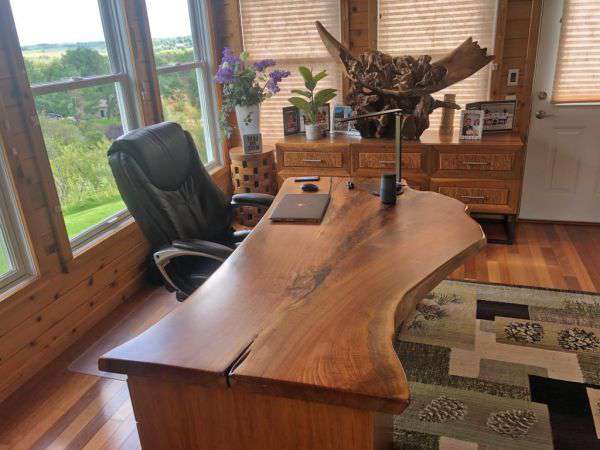
Cut your bevels on the workpiece edge and lay them with inside face down and one end butted to a straightedge. Drill pilot holes for the legs, in between the pieces of tape. Cut several pieces of soft anti-skid rubber rug mats to fit on top of the file cabinets and set the desktop onto the mats. Drill pilot holes and drive screws through the lower face frame into upper. A six-point socket is designed to contact head of a fastener well away from corners so contact is made on the thickest part of socket and the flattest part of the fastener.
Let cork overhang wood, then trim it flush with a utility knife after the adhesive dries. Washer head helps prevent overdriving the screws when you're joining particleboard or plywood. Allow about a day to complete this project, assuming you collect all parts in advance. To keep it from sliding, attach two 2 x 2-inch crosspieces to underside of the table. You could change dimensions to suit your needs, leave out drawer or add a lift-out tray in the top. Use edges of the back as a guide to straighten the edges of the box as you nail back into place.
If your walls and floor aren't exactly straight or level, you'll be able to scribe standards on backside and bottom, and then craft along your scribe for a perfect fit. You could do a scale drawing on graph paper, but it's easy to make disastrous mistakes that way. The concrete takes a week to get really hard and about four weeks to get to near full strength. Cut and glue the hardwood edge on middle shelf. Oil-based poly, on the other hand, takes longer to dry, so airborne particles have a longer time to settle on and mar the finish.
It should last for many years with little maintenance, so you can spend more time gardening and less time maintaining. While narrow piece should be locked into place with nails, longer one would be attached with hinges to the rest of the roof. Countersink drill bits are available in sizes to match screw sizes. Nail the crosspieces to door with brad nails, then notch the back of the handle so it sits flat on the crosspieces and nail it in place. If you've ever made upright cuts like this, you already know how hard-and dangerous-it is without some kind of support.
Fasten the frame board corners with two nails and glue. Then add the floorboards and center panel. If drilled hole is undersized, use sandpaper or a rasp to make it just large enough for a snug fit. Cut arc with a jigsaw and sand smooth. It's hard to get nice, straight cuts without something to help guide your circular saw. Next, lift bed frame into the vertical position while your helper holds cabinet.